
Your fitness facility might have premium equipment, polished interiors, and a packed class schedule, but there’s one space every member uses: the locker room. It’s where they change, store their belongings, shower, and prepare to leave.
If the space feels cramped, difficult to move through, poorly ventilated, or worn down by constant moisture, that experience can overshadow everything else the facility gets right. Much of that comes down to the layout.
Locker doors should open without blocking walkways. Benches should give people room to change, while showers, towel drops, mirrors, and grooming areas need their own place in the floor plan.
That is where gym locker room design becomes a facility planning decision rather than a finishing detail. The layout affects movement, maintenance, and the durability of the lockers and surrounding products over time.
This guide covers the layout, materials, accessibility, security, and installation considerations before ordering lockers.
Plan the Locker Room Around How the Space Will Be Used
A locker room has several activities happening at once. Members enter, find lockers, change, use the showers, collect towels, groom, and move between areas. Gym locker room design should account for these use patterns from the start, so high-traffic areas don’t interfere with changing, storage, or access.
Each zone should have enough space to function without interfering with the others.
Dry Zone
The dry zone includes the entrance, changing areas, primary locker banks, and personal storage. Members use this area to open lockers, change clothes, put on shoes, and organize bags.
Locker placement should allow enough space between banks and keep main routes clear. Gym locker room design should account for busy entrances so that lockers do not create stopping points for members entering.
Digital lockers also require adequate space. Keypads, RFID, and other electronic locking systems need enough room for members to approach, operate the lock, and collect their belongings without blocking nearby paths.
Wet Zone
The wet zone includes showers, wet corridors, and towel-drop areas. These spaces introduce water, humidity, cleaning chemicals, and heavier cleaning routines into the locker room.
Keeping wet activity in a defined area helps limit water exposure elsewhere. Gym locker room design should account for floor transitions, drainage, shower access, and towel collection alongside locker placement.
Keep wet and dry areas separate in commercial fitness locker rooms. Lockers near shower exits receive more moisture than those farther inside the changing area.
Transition Zone
The transition zone connects the dry and wet areas. Benches, grooming stations, mirrors, and circulation paths often sit here.
Tight layouts can create conflicts when members sit on benches, use mirrors, or walk toward the showers simultaneously. IHRSA guidelines for fitness facilities emphasize planning space around different activities and circulation needs.
A luxury locker room layout needs the same circulation discipline as a basic fitness facility. Gym locker room design should leave enough room for benches, mirrors, and locker doors without forcing multiple activities into the same space.
Choose Materials for a High-Moisture Environment
Commercial fitness locker rooms deal with humidity, water, cleaning chemicals, constant use, and repeated impact. The material you choose affects maintenance, durability, and replacement needs over the facilitys life.
Start With the Room’s Conditions
A locker room beside showers or a pool deck faces very different conditions from a dry changing area. Water, humidity, cleaning products, and frequent sanitation can put greater demands on locker surfaces and finishes.
Conventional steel lockers can work well in areas with limited moisture exposure. In consistently humid environments, however, repeated water exposure can increase corrosion concerns and maintenance requirements. Gym locker room design should account for these conditions before specifying locker materials.
Consider How the Lockers Will Be Used
Moisture is only part of the equation. Commercial lockers also take daily impact from bags, shoes, equipment, and constant opening and closing. High-traffic facilities need materials that can handle this level of use while remaining practical to clean and maintain.
This matters over the facility’s life. A locker that requires frequent repairs or replacement can add to long-term operating costs, even if its initial price was lower.
Match the Material to the Environment
HDPE, or high-density polyethylene, is a solid plastic option for locker rooms with frequent water exposure. It resists moisture and does not rust, making it well suited to wet areas where cleaning and sanitation are part of daily operations.
Phenolic lockers are another option for high-moisture environments. GSS identifies both HDPE and phenolic lockers for pool decks, aquatic centers, and locker rooms with direct water exposure.
The best material depends on where the lockers will be installed, how much moisture they will encounter, and how heavily the facility will use them. Gym locker room design should address those factors early so the locker system fits the facility, rather than creating avoidable maintenance issues later.
Factors to Consider When Choosing Locker Materials
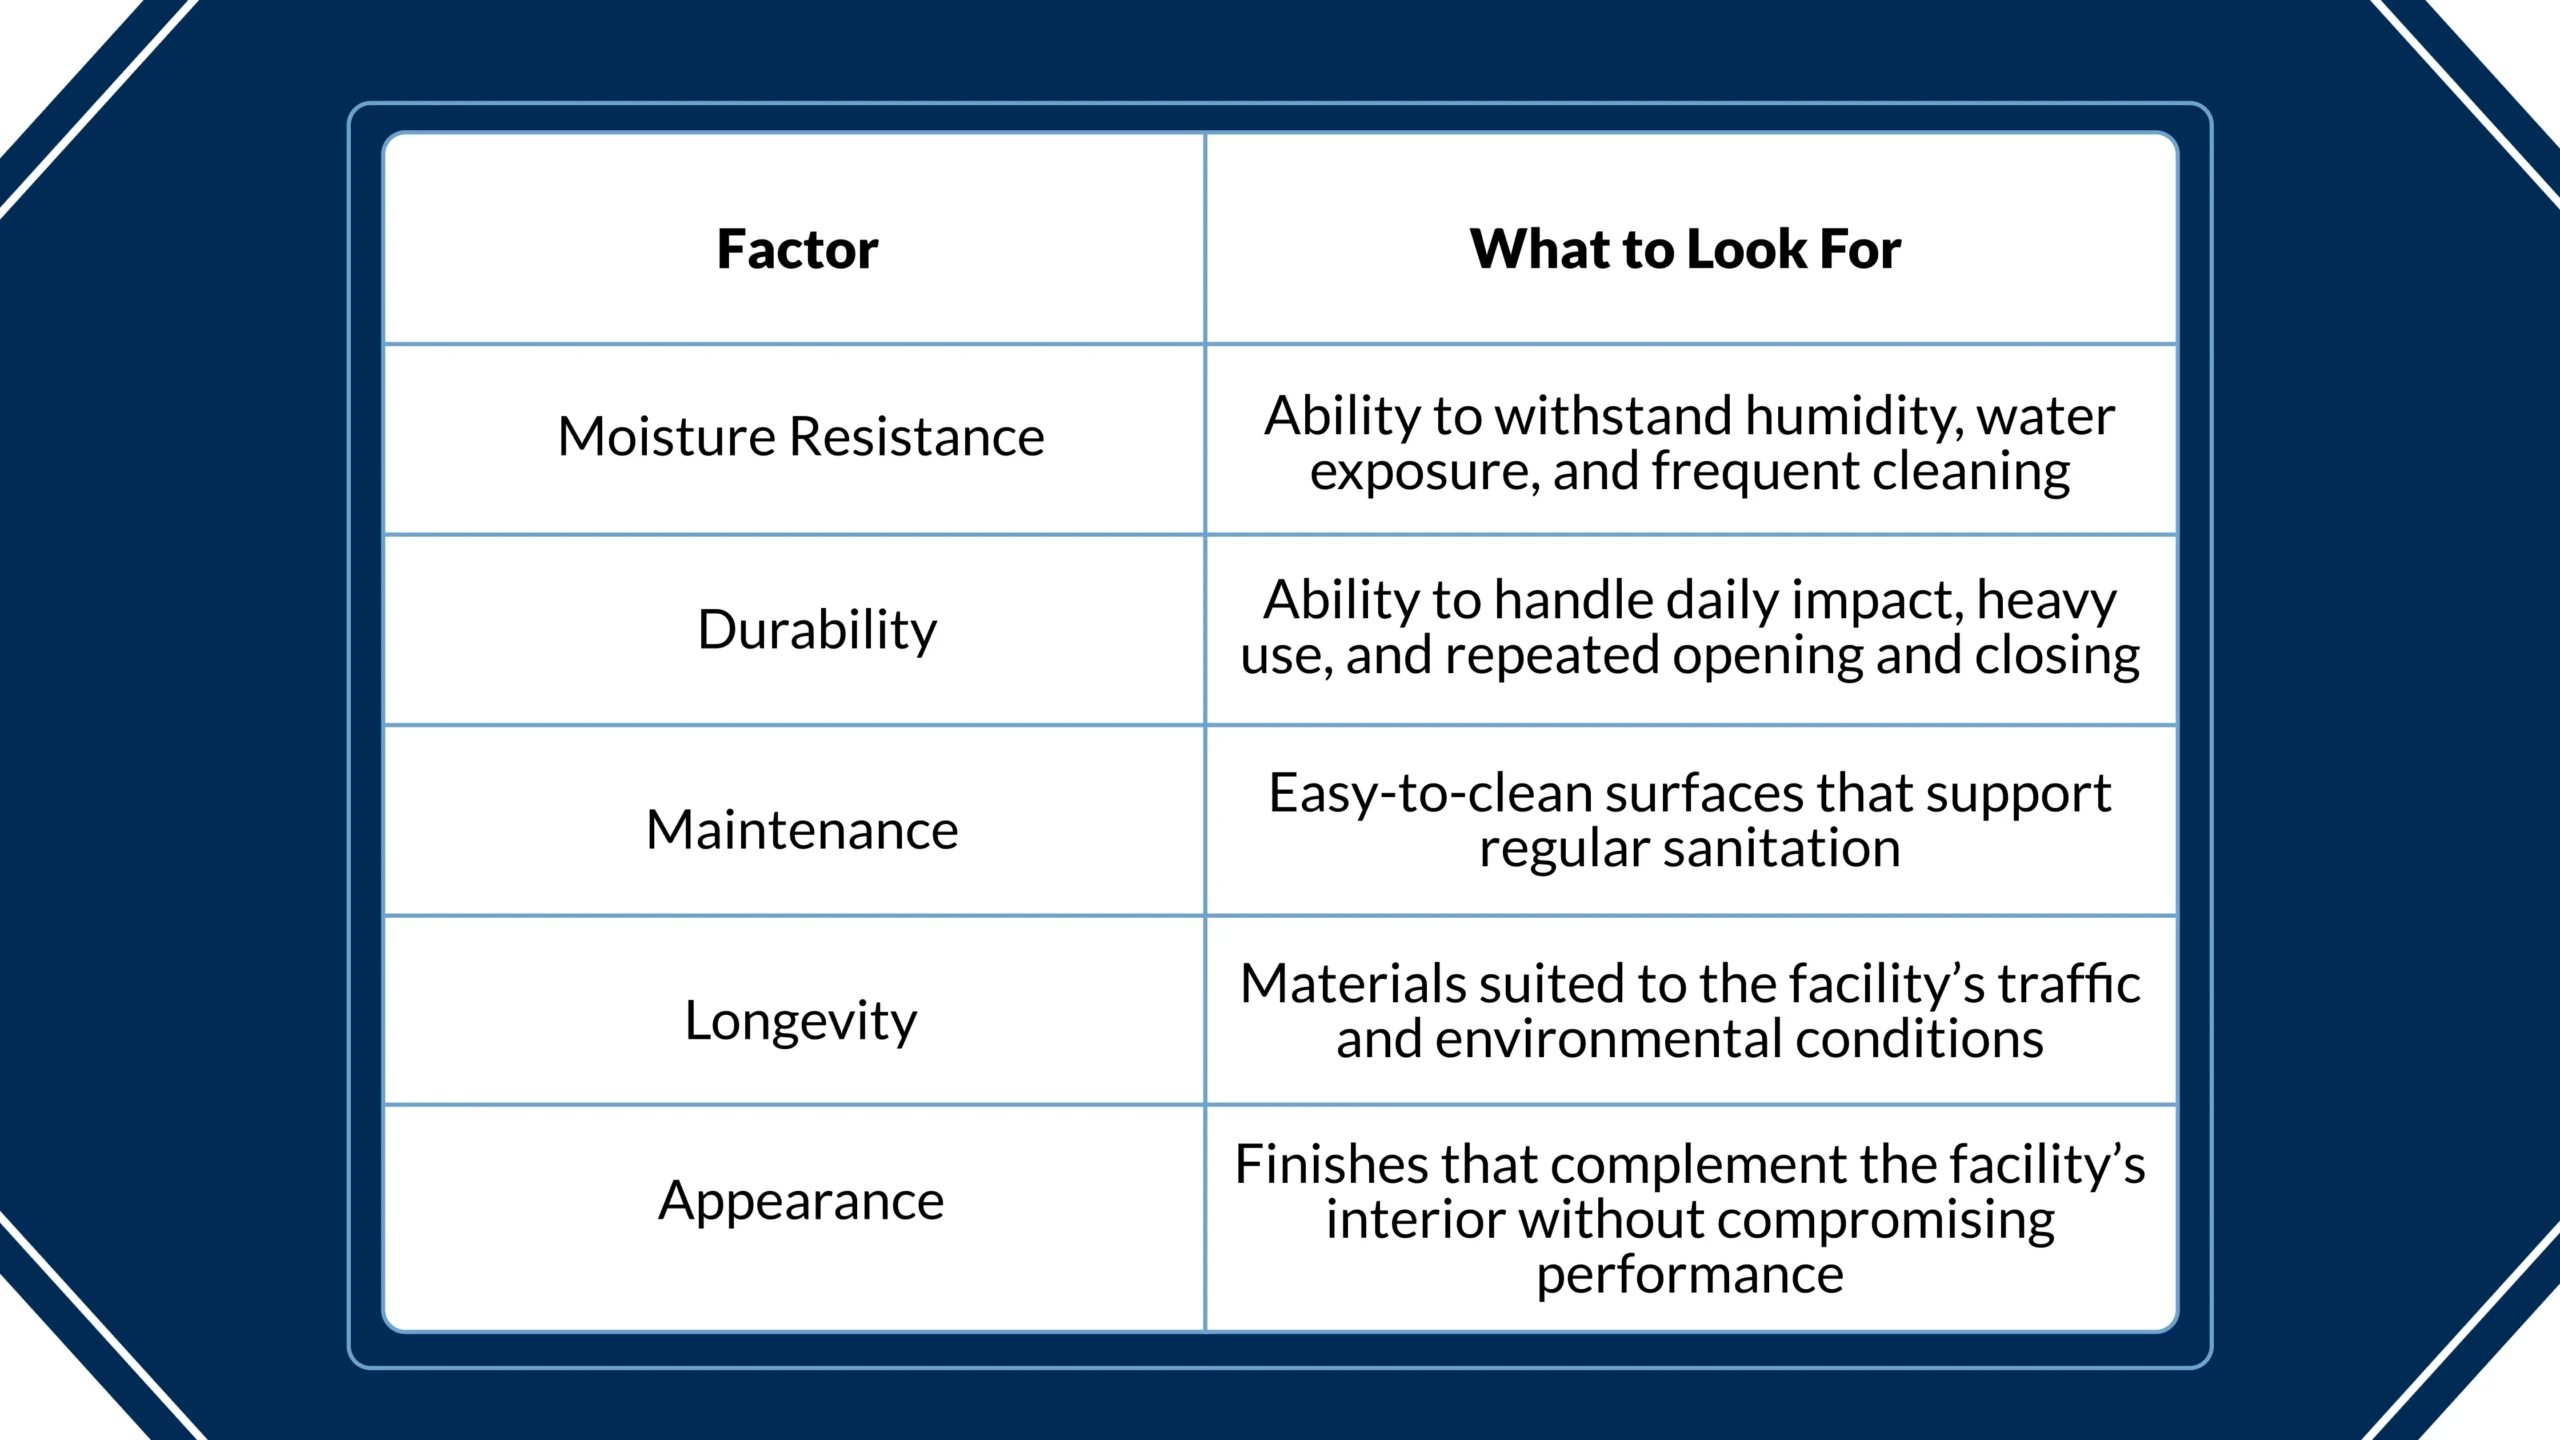
The right locker material depends on the facility’s conditions and how heavily the space will be used. Consider these factors before finalizing the locker specification:
How To Plan ADA Accessibility Into the Locker Room Layout
Consider accessibility during the initial locker room plan, not after you’ve already selected the layout and products. The 2010 ADA Standards cover dressing, fitting, and locker rooms under Sections 222 and 803, including requirements for accessible spaces, lockers, shelves, coat hooks, and benches.
Where locker rooms are provided, at least 5%, but no fewer than one, of each type of use in each cluster must comply with the applicable accessibility requirements.
Include Accessible Locker Placement
For ADA-accessible gym lockers, consider more than just the locker’s height. The surrounding floor space, approach, locker doors, adjacent benches, and circulation paths all affect whether users can use the locker comfortably.
Position accessible lockers where users can reach them without navigating around benches, other locker doors, or high-traffic paths. Coat hooks and shelves provided in locker rooms also have specific accessibility requirements under the ADA Standards.
Account for Accessible Benches and Clearances
Benches also require specific dimensions and clear floor space. Section 903 addresses accessible bench requirements, including a seat at least 42 inches long and 20 to 24 inches deep, with the required clear floor space at the end of the bench.
Coordinate accessible lockers and benches with the rest of the room rather than treating them as separate fixtures. Locker banks, doors, benches, grooming areas, and circulation routes should work together within the available floor space.
Architects and facility teams should verify the ADA requirements that apply to the specific project and jurisdiction before finalizing specifications.
How to Include Supporting Products in Your Locker Room Plan
A locker room includes more than lockers. Benches, shelving, wall protection, mirrors, restroom accessories, and other products must also fit the space. Coordinating their locations with the locker layout helps avoid clearance and circulation issues during installation.
Consider Benches, Shelving, & Accessories
The right placement of each also helps keep the room functional and easy to use:
Benches & Shelving
GSS supplies surface-mounted and freestanding bench systems in steel, wood, and laminate finishes, along with shelving for locker room buildouts. Bench placement should leave enough room for members to sit, change, and move through the surrounding area without creating congestion.
Shelving should also be positioned with locker banks and circulation in mind. Placing storage where it interferes with locker doors or primary walkways creates problems once the room is in daily use.
Wall Protection
Wall protection is needed in areas with heavy foot traffic, cart and equipment movement, and frequent contact with hard surfaces. GSS supplies Wall Protection & Wall Corner Guards, which can be coordinated with the locker room package where additional protection is needed.
Mirrors & Restroom Accessories
Mirrors, grab bars, coat hooks, hand dryers, and other restroom accessories also need planned locations and appropriate clearances. GSS supplies Restroom Accessories for commercial facilities.
Coordinating these products early gives the project team time to account for mounting locations, clearances, finishes, and installation sequencing before the room is complete.
How to Plan Installation With the Locker Room Design
Product selection is only one part of installation. Address locker placement, anchoring, leveling, site conditions, and coordination with surrounding construction before work begins.
Step 1: Confirm the Locker Layout
Position locker banks around doors, circulation paths, walls, plumbing fixtures, benches, and other products. Settling the layout first helps prevent conflicts during installation.
Step 2: Prepare the Site
Confirm site readiness before delivery and installation. Surrounding finishes, walls, flooring, and other construction should be ready for the locker scope.
Step 3: Install and Secure the Lockers
Position, anchor, and level locker banks correctly. Address bench clearances and electronic locking system requirements during installation.
Step 4: Coordinate the Supporting Products
Install benches, shelving, wall protection, and other specialty products according to the final layout to avoid interfering with locker access or circulation.
How GSS Supports Commercial Locker Room Projects
Granite State Specialties supplies and installs commercial locker systems for fitness facilities and other commercial environments. Its locker offering includes metal, HDPE, phenolic, laminate, wood, and stainless steel options, along with athletic, custom, rust-resistant, smart, and other configurations.
For a fitness facility, that range lets the locker specification match the room’s conditions and intended use. Gym locker room design also benefits from selecting materials, locking systems, and supporting products that fit the space.
GSS also supports projects during the planning phase, helping architects and facility teams develop CAD layouts, review locker room configurations, and specify products to meet project requirements and applicable accessibility standards.
Project managers stay involved from site readiness through installation, while OSHA-trained installation teams handle GSS locker installations. The company serves projects throughout New England.
The GSS Lockers, Benches, & Shelving page provides the full range of locker, bench, shelving, material, and locking options available for commercial projects.
| Things to Consider When Planning a Gym Locker Room Before approving the locker room package, review these items: User volume: Estimate peak occupancy rather than average daily use. Zoning & traffic flow: Keep dry, wet, and transition areas organized and primary paths clear. Moisture exposure: Select locker materials based on humidity, water, cleaning, and chemical exposure. Security: Match the locking system to the facility’s user pattern. Accessibility: Review accessible lockers, benches, turning space, reach ranges, and clear floor areas. Installation: Confirm site readiness, anchoring, leveling, and sequencing before delivery. |
Build Durable Gym Locker Rooms With GSS
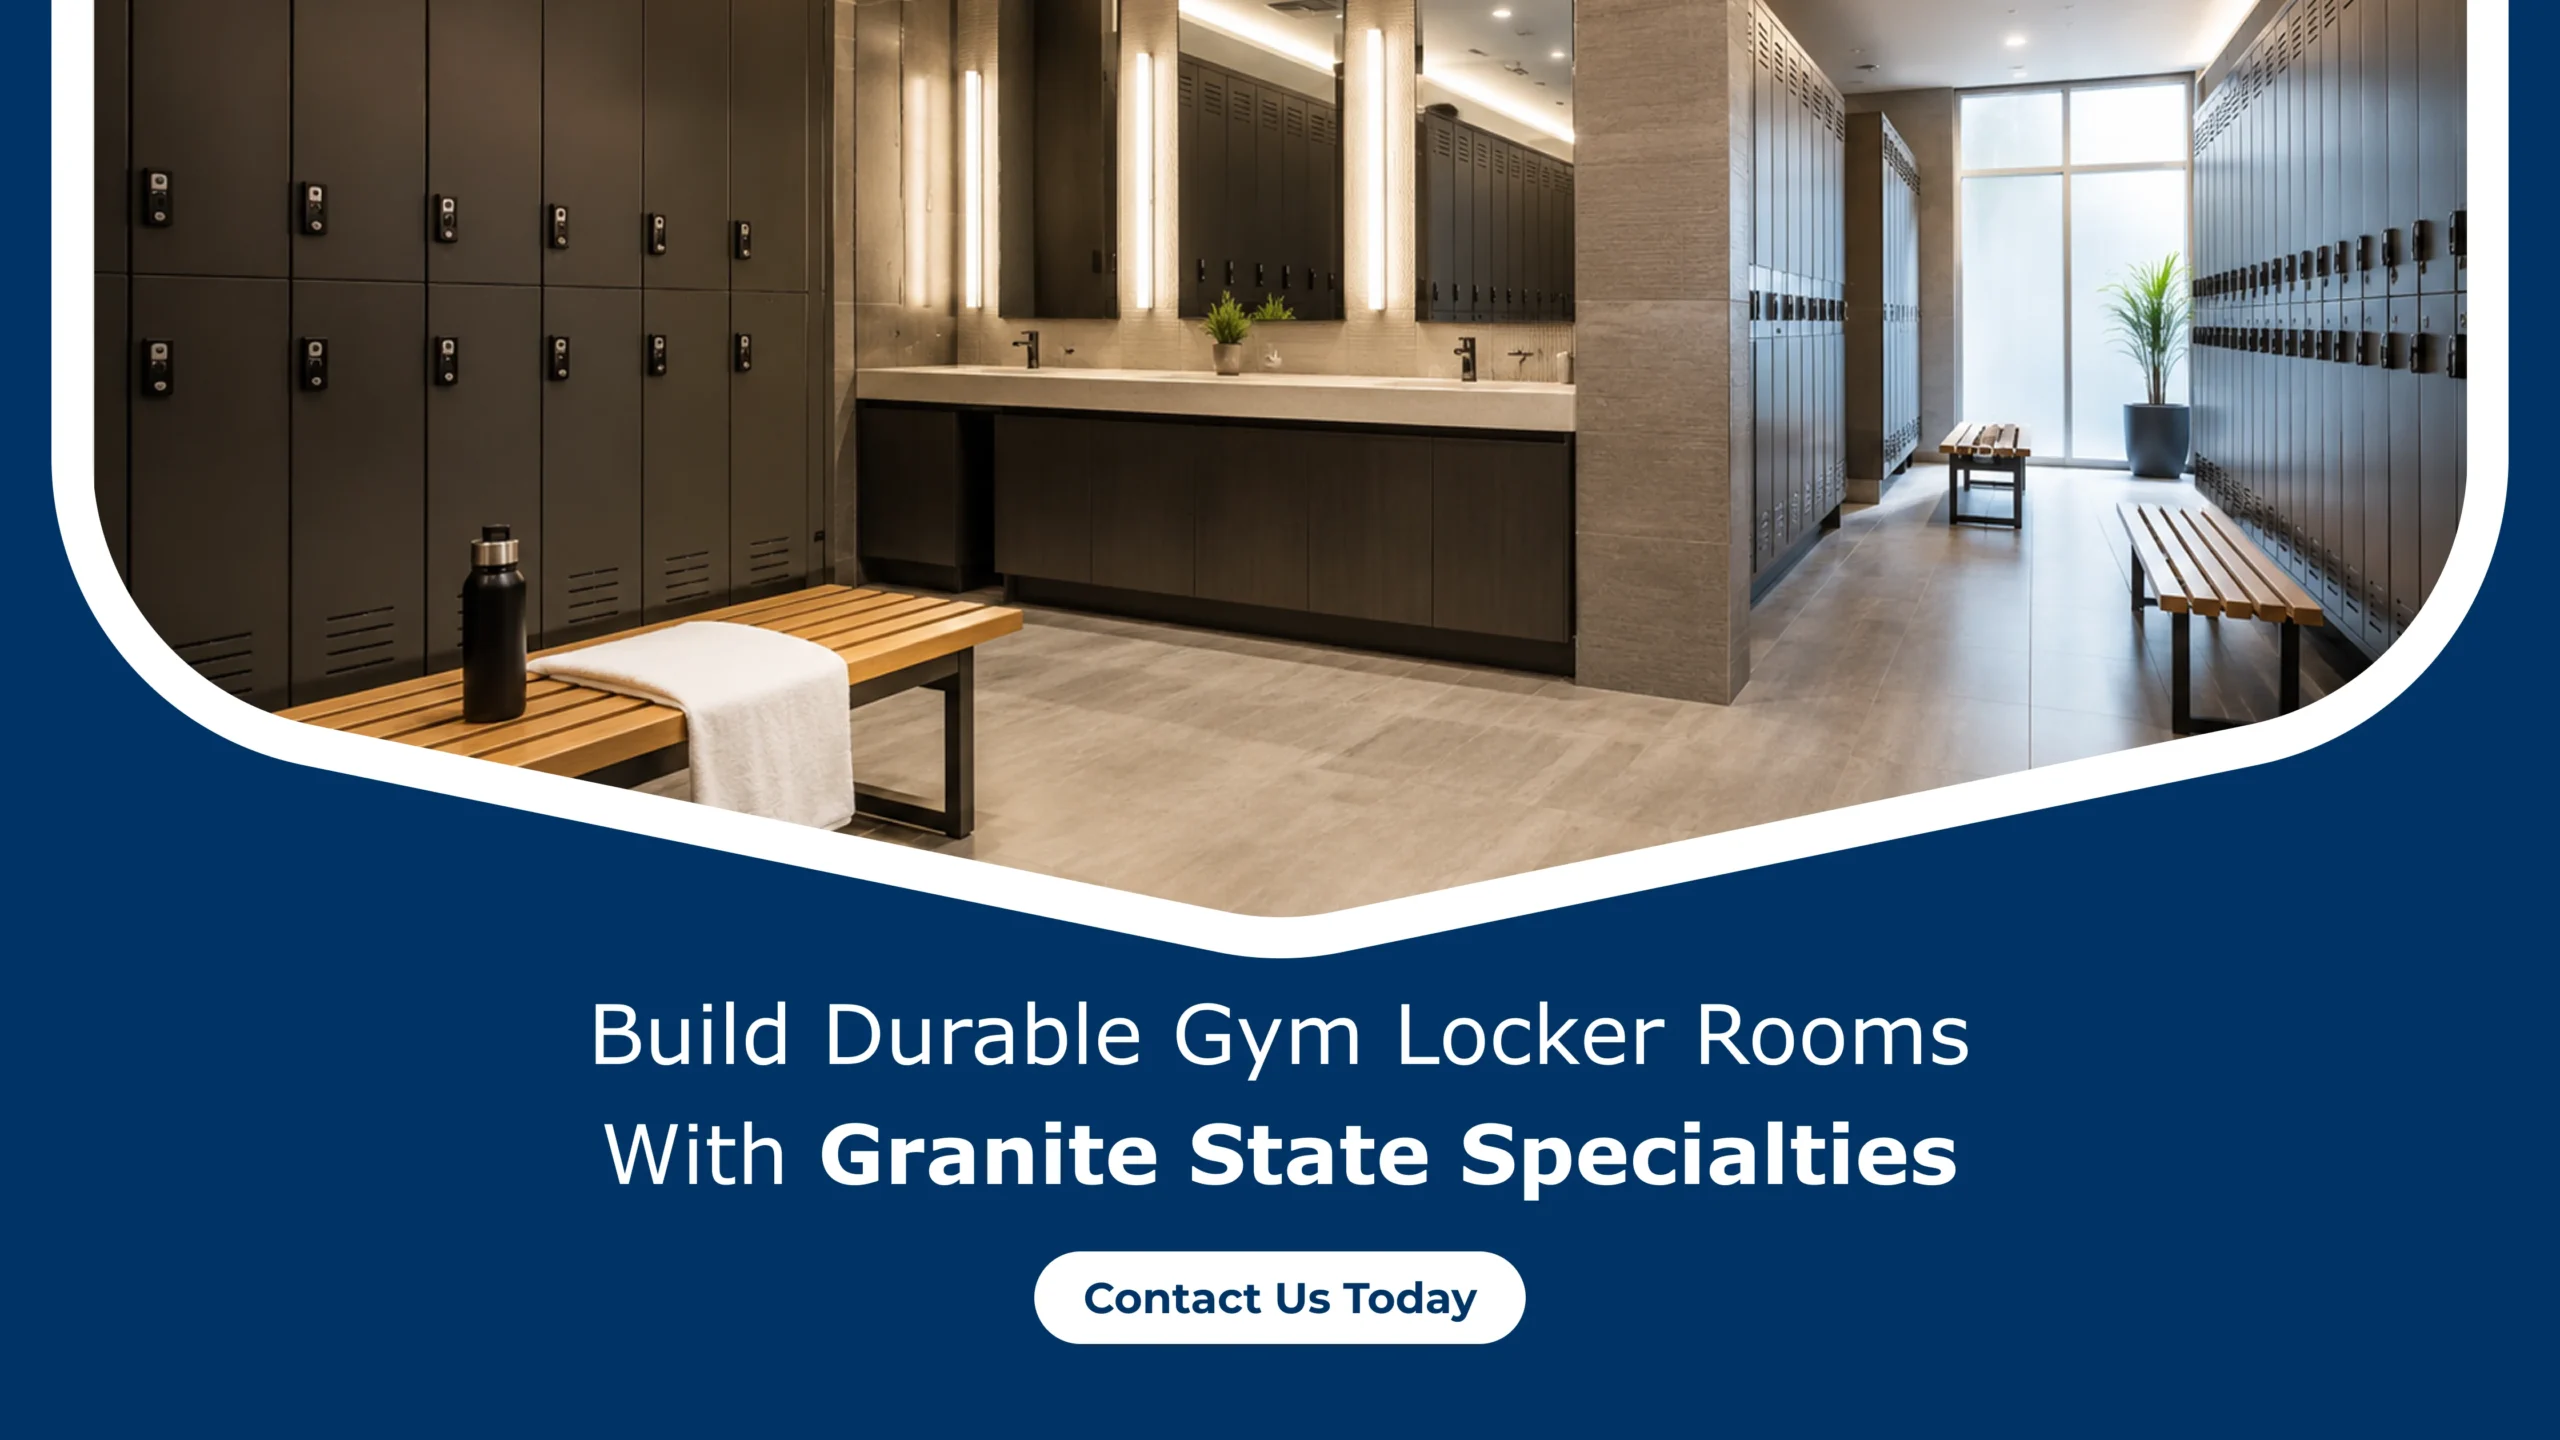
A well-planned gym locker room should account for member volume, traffic flow, moisture exposure, accessibility, security, materials, and installation before finalizing the locker package.
These decisions help create a locker room that supports daily use and holds up over time.
GSS works with facility managers, architects, contractors, and project teams on commercial locker room projects.
GSS handles the specialty locker room scope, including product selection, layout coordination, benches, shelving, and installation.
For new fitness facilities, locker room renovations, and storage replacement projects, GSS helps teams select products based on the space, expected use, and environmental conditions.
Contact GSS today to discuss your locker room layout, materials, and installation needs.
Frequently Asked Questions
1. What should I consider first when planning a gym locker room?
Start with expected user volume, room dimensions, traffic flow, moisture exposure, locker type, security, accessibility, and the location of showers and other high-use areas. These decisions influence the placement and specification of the locker system.
2. What locker materials are suitable for humid fitness facilities?
HDPE and phenolic lockers suit wet, high-humidity environments. Metal, laminate, and wood options have different performance characteristics and should be selected according to the facility’s moisture exposure, cleaning requirements, appearance goals, and intended use.
3. How many accessible lockers are required?
Under the 2010 ADA Standards, where lockers are provided, at least 5% of lockers, but no fewer than one of each type, must comply with the applicable accessibility requirements. Project teams should review the full ADA requirements when developing the room layout.
4. Should a gym use digital or RFID locker locks?
Digital and RFID systems are well-suited for facilities with frequent day-use lockers and high member turnover. The right choice depends on how members access the facility, how lockers are assigned, and how staff needs to manage the system.
5. When should locker installation be coordinated?
Coordinate locker installation during the planning and construction phases, before surrounding finishes and fixtures limit access or create conflicts. GSS handles estimating, project management, and locker installation as part of its commercial locker services.