
An athletic locker room can become disorganized quickly. Helmets pile onto benches, shoulder pads fill open spaces, and cleats, bags, and damp gear spill into walkways.
However, the locker room is more than a place to store equipment. It’s where athletes prepare, regroup, and connect with teammates. A study of 238 youth ice hockey players found that prosocial teammate behavior in the locker room was associated with stronger team bonding, while antisocial behavior was associated with lower unity.
A well-planned space can support that experience while keeping equipment accessible, circulation clear, and cleaning manageable.
For athletic directors, coaches, and facility managers, effective organization starts with how athletes actually use the space. The right lockers, ventilation, storage zones, seating, security, and labeling can make the entire room more functional.
This blog shares practical tips for organizing athletic locker rooms to improve daily operations, protect equipment, and create a space that works for the entire team.
5 Tips For Athletic Locker Room Organization That Make a Difference
The best organization strategy isn’t simply about adding more storage. It’s about giving every piece of equipment, personal item, and daily activity a logical place within the room.
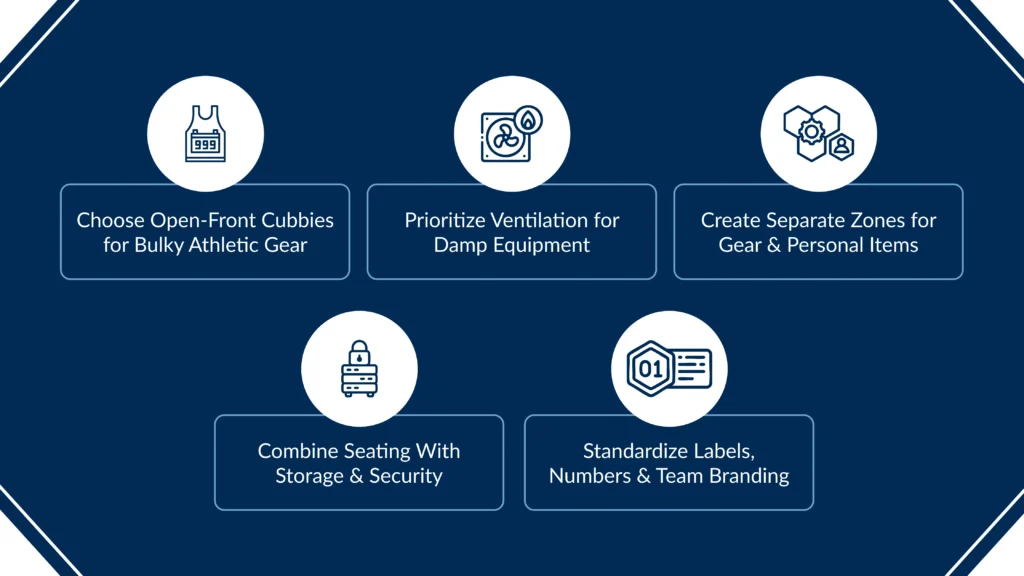
1. Choose Open-Front Cubbies for Bulky Athletic Gear
Helmets, shoulder pads, sports bags, gloves, and other large gear can be difficult to store in conventional locker compartments. Open-front athletic cubbies provide easier access and give teams greater flexibility in storing equipment throughout the day.
For a high school sports locker room, open storage can offer several advantages:
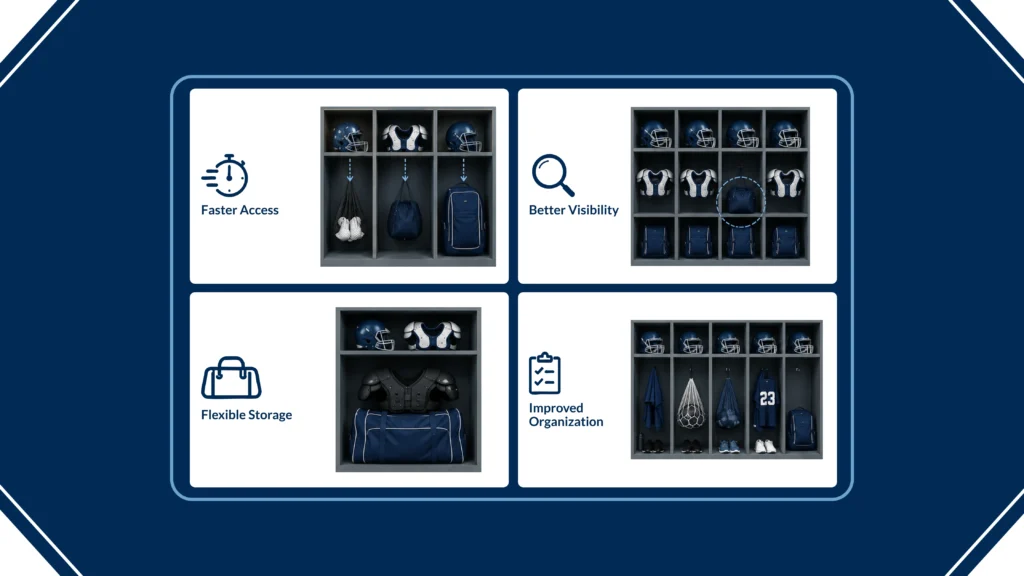
- Faster Access: Athletes can see and retrieve equipment without opening multiple doors.
- Better Visibility: Coaches and staff can quickly identify misplaced or abandoned gear.
- Flexible Storage: Larger compartments can accommodate bulky equipment that doesn’t fit neatly into standard lockers.
- Improved Organization: Designated cubbies give athletes a clear place to return equipment after practice or competition.
Open-front storage can also make it easier to see when a space needs attention, which supports better day-to-day athletic facility management.
The right choice ultimately depends on the sport, equipment volume, available floor space, and how the team uses the room.
2. Prioritize Ventilation for Damp Equipment
Moisture is one of the biggest challenges in athletic storage.
Uniforms, towels, pads, and other equipment can enter the locker room damp after practices and games. If wet gear is immediately placed in an enclosed space with limited airflow, moisture and odors can become persistent problems.
That makes ventilation an important part of tips for athletic locker room organization.
Depending on the application, ventilated or perforated locker configurations can allow more air to circulate around stored equipment.
Select materials based on the facility’s exposure to moisture, cleaning routines, and daily wear and tear.
For athletic facilities, consider:
- Ventilated locker configurations
- Moisture-resistant materials
- Easy-to-clean surfaces
- Adequate spacing around bulky equipment
- Storage that allows damp gear to dry before being enclosed
Proper storage conditions can help facility teams maintain a cleaner environment and protect equipment from unnecessary wear and tear.
3. Create Separate Zones for Gear & Personal Items
When athletic equipment, street clothes, footwear, and personal belongings are all stored in the same area, clutter is almost inevitable.
A better approach is to establish clear zones based on what athletes actually need to store. This is one of the most useful sports locker-room organization tips for facilities that handle large teams or multiple programs.
Consider dedicated areas for:
- Athletic Equipment: Helmets, pads, gloves, bags, and other sport-specific gear.
- Footwear: Cleats, shoes, and boots can benefit from dedicated lower storage or built-in boot trays.
- Uniforms: Separate practice and game-day clothing from heavier equipment.
- Personal Belongings: Backpacks, street clothes, phones, wallets, and other everyday items should have designated storage.
This kind of team storage optimization gives athletes a clear system to follow and helps coaches and facility staff identify where items belong.
It can also make cleaning easier. When each category has a defined location, staff don’t have to work around piles of equipment scattered across benches and walkways.
4. Combine Seating With Storage & Security
Benches are essential to most athletic locker rooms, but they also take up valuable floor space. Rather than treating seating and storage as separate decisions, consider how they can work together.
Integrated bench and locker configurations can create designated areas for athletes to sit, change, and organize their equipment, making better use of the available footprint.
Security should be considered at the same time.
Athletes may bring phones, wallets, keys, and other valuables into the facility. Dedicated lockable compartments or secure storage can give those items a defined place, rather than leaving them on benches or in open equipment cubbies.
When evaluating tips for athletic locker room organization, ask how the storage system supports the entire routine:
- Where does an athlete sit?
- Where does equipment go?
- Where are personal items secured?
- Can athletes move through space without blocking others?
- Can coaches and staff access storage when needed?
Thinking about these activities together can lead to a more functional layout.
5. Standardize Labels, Numbers & Team Branding
Even the best storage system won’t stay organized if no one knows where anything belongs.
Consistent locker numbers, player nameplates, and clearly assigned spaces make it easier for athletes to identify their storage and return equipment after practice. For coaches and equipment managers, standardized labeling can also simplify inventory checks and help identify missing gear.
Team branding can add another layer to the system. School colors, logos, custom nameplates, and coordinated finishes can make storage feel like part of the athletic program rather than a collection of generic fixtures. That visual consistency can also reinforce ownership and accountability.
For schools investing in tips for athletic locker room organization, consider labeling part of the organizational system, not simply a decorative finishing touch.
Assess Materials for Long-Term Locker Room Use
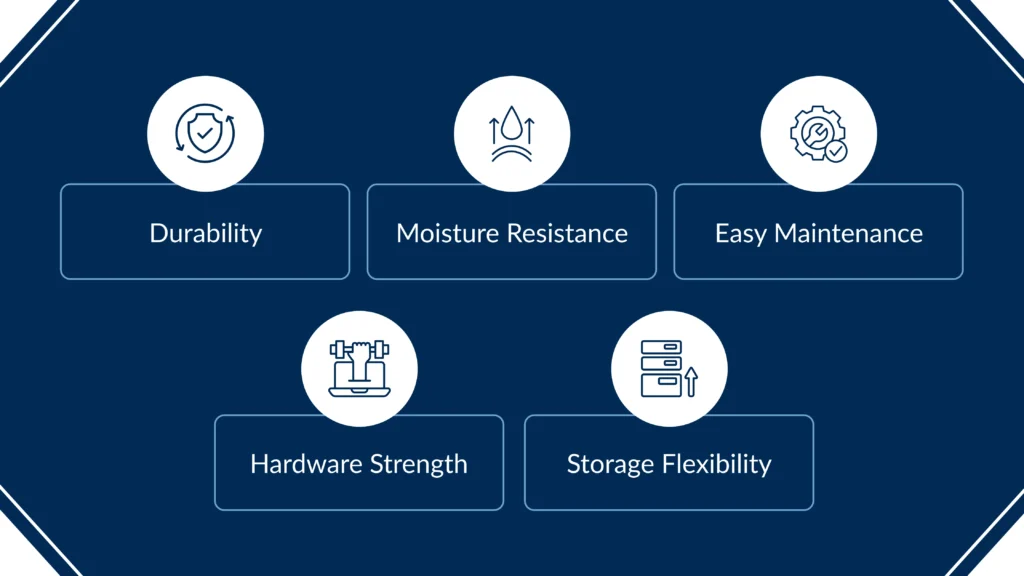
Athletic facilities are subject to constant impact, moisture, cleaning, and daily wear. When applying these Tips For Athletic Locker Room Organization, assess each storage system for:
- Durability: Heavy-duty construction for equipment impact and daily use.
- Moisture Resistance: Materials suited to damp gear and humid conditions.
- Easy Maintenance: Surfaces that support regular cleaning and upkeep.
- Hardware Strength: Durable locks, hinges, and handles built for frequent use.
- Storage Flexibility: Configurations that accommodate bulky sports equipment.
Choosing materials suited to the environment supports better team storage optimization, simplifies athletic facility management, and extends the life of your commercial storage system.
How to Design the Locker Room Around Daily Team Operations
A functional athletic locker room should support the way athletes, coaches, and facility staff use the space every day. Build the layout around:
- Storage capacity: Enough space for each athlete’s equipment and personal belongings.
- Gear access: Open, ventilated storage for frequently used or bulky equipment.
- Wet gear management: Designated areas for damp equipment after practices and games.
- Personal storage: Dedicated space for bags, footwear, valuables, and street clothes.
- Traffic flow: Clear pathways through high-traffic and transition areas.
- Easy maintenance: Accessible surfaces and storage that simplify routine cleaning.
- Future capacity: Flexible storage that can accommodate team and program growth.
This approach improves team storage, simplifies athletic facility management, and helps create a more functional high school sports locker room.
The GSS Installation Advantage
Once the storage requirements are clear, the next step is to turn them into a layout that works in the actual space.
Granite State Specialties supports schools, sports complexes, and other athletic facilities with commercial lockers, benches, and shelving, helping project teams coordinate storage around the facility’s size, use, and requirements.
GSS can assist with:
- Space planning
- Product selection
- Custom CAD layouts
- Locker, bench, and shelving coordination
- Project specifications and submittals
- Commercial installation
For athletic directors and facility managers, early coordination can help identify potential layout conflicts before products arrive on site. It also gives contractors a clearer installation plan and helps ensure that storage, seating, circulation, and other fixtures work together.
The result is a storage system designed around the facility rather than a collection of products added after the layout is already set.
Build a Functional Athletic Locker Room With GSS

Effective tips for athletic locker room organization start with a storage system designed around the team, the equipment, and the facility. The right combination of durable lockers, open storage, ventilation, seating, and secure compartments can make daily operations easier while helping protect valuable athletic gear.
GSS provides commercial lockers, benches, and shelving for athletic facilities, with support for space planning, product coordination, and professional installation.
Planning a new facility or upgrading an existing locker room? Contact Granite State Specialties to create a storage solution built for your team.
Frequently Asked Questions
1. What is the best locker configuration for an athletic locker room?
The right configuration depends on the sport, equipment volume, available space, and how athletes use the room. Open-front cubbies work well for bulky equipment that needs quick access and airflow, while enclosed lockers may be better for personal belongings and secure storage.
2. How can I improve organization in a high school sports locker room?
Start by assigning dedicated areas for athletic equipment, footwear, uniforms, and personal belongings. Consistent labeling, adequate storage capacity, and a layout that keeps equipment out of primary walkways can also make daily organization easier.
3. How does ventilation help organize an athletic locker room?
4. Ventilated storage can improve airflow around damp athletic equipment, helping facility teams manage moisture and odors. Select locker materials and configurations based on the facility’s specific environment and maintenance needs.
5. What should athletic facilities consider when selecting lockers?
Consider durability, moisture exposure, ventilation, cleaning requirements, storage capacity, security, hardware, and the type of equipment athletes need to store.
How can facility managers improve team storage optimization?